
How Cacao Beans Become a Chocolate Bar
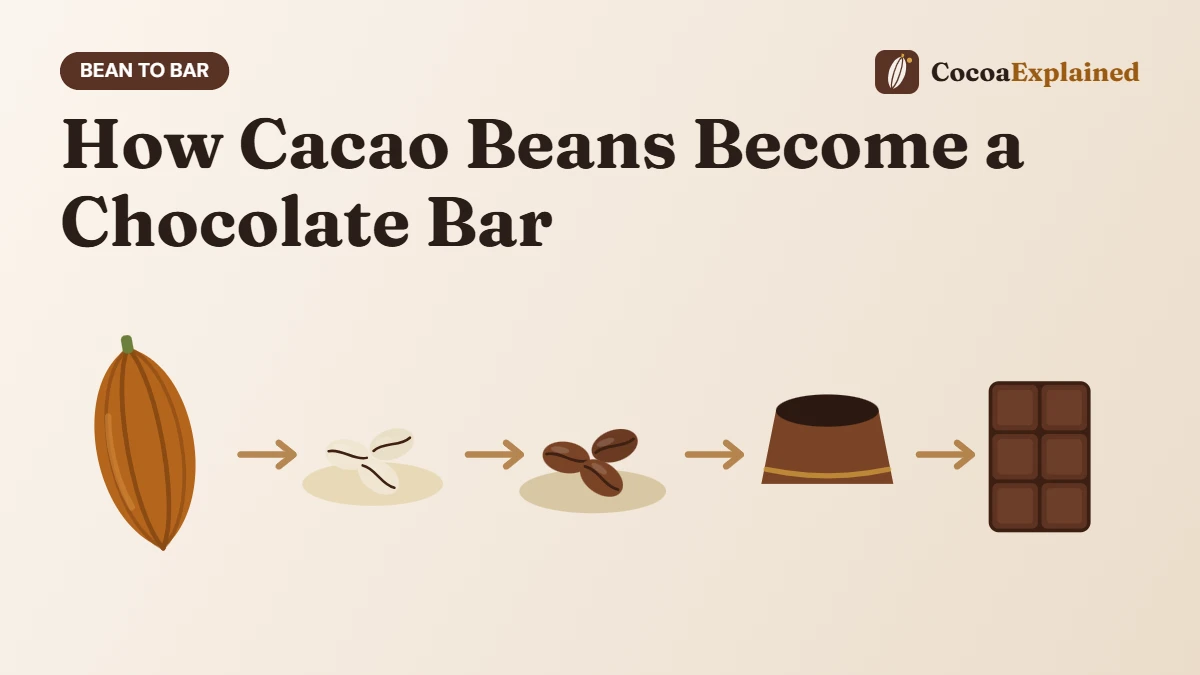
A bar of chocolate looks simple, but it is the end of a long journey that starts on a tree in a warm, humid region and passes through many pairs of hands and several machines. Each step shapes the flavour you eventually taste. This guide follows the path from cacao pod to finished bar, in plain language, so that the next time you unwrap a piece you know what went into it.
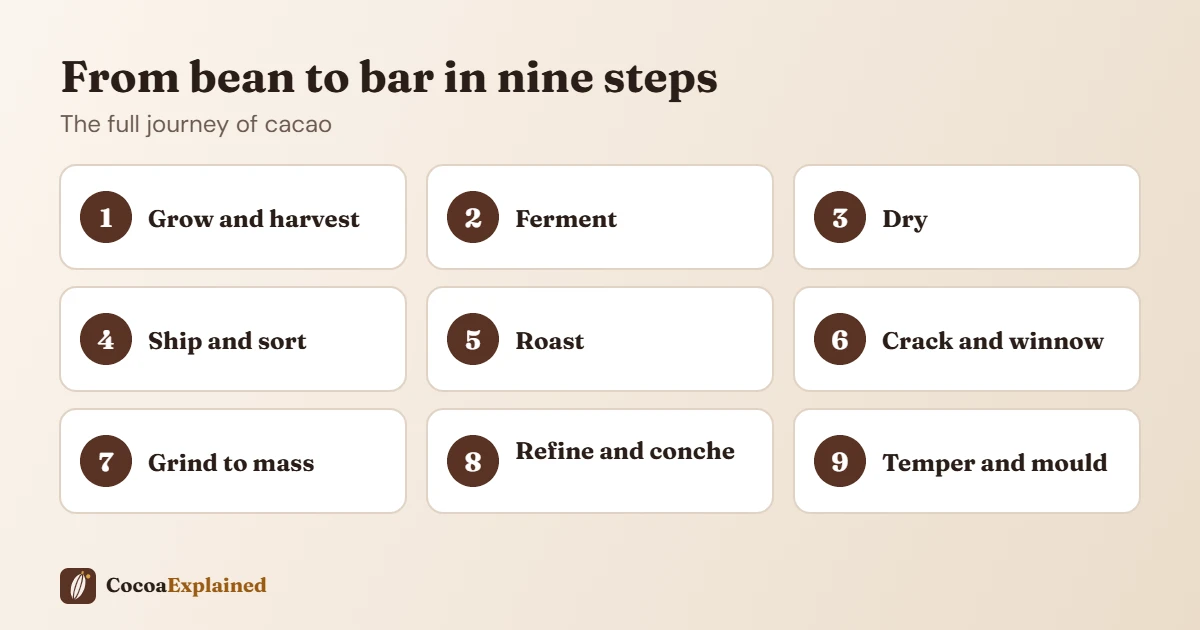
The journey at a glance
- Growing and harvesting cacao pods
- Opening the pods and fermenting the beans
- Drying the beans
- Shipping and sorting
- Roasting
- Cracking and winnowing to get nibs
- Grinding into cocoa mass
- Mixing, refining and conching
- Tempering, moulding and wrapping
1. Growing and harvesting
Cacao trees (Theobroma cacao) grow in a belt of warm, rainy climates close to the equator. The trees produce pods, which grow directly from the trunk and branches. A ripe pod is roughly the size of a rugby ball, and its colour, from yellow to orange to red or purple depending on the variety, changes as it ripens.
Farmers harvest ripe pods by hand, usually cutting them from the tree with a machete or a long-handled knife, taking care not to damage the tree, which will flower and fruit again. Most of the world’s cacao is grown on small family farms, so the harvest depends on a great deal of careful manual work.
2. Opening the pods and fermenting the beans
Inside each pod are rows of seeds, commonly called beans, surrounded by a sweet, sticky white pulp. The number of beans per pod varies, but it is typically a few dozen. The beans and pulp are scooped out and gathered into heaps covered with banana leaves, or into wooden boxes.
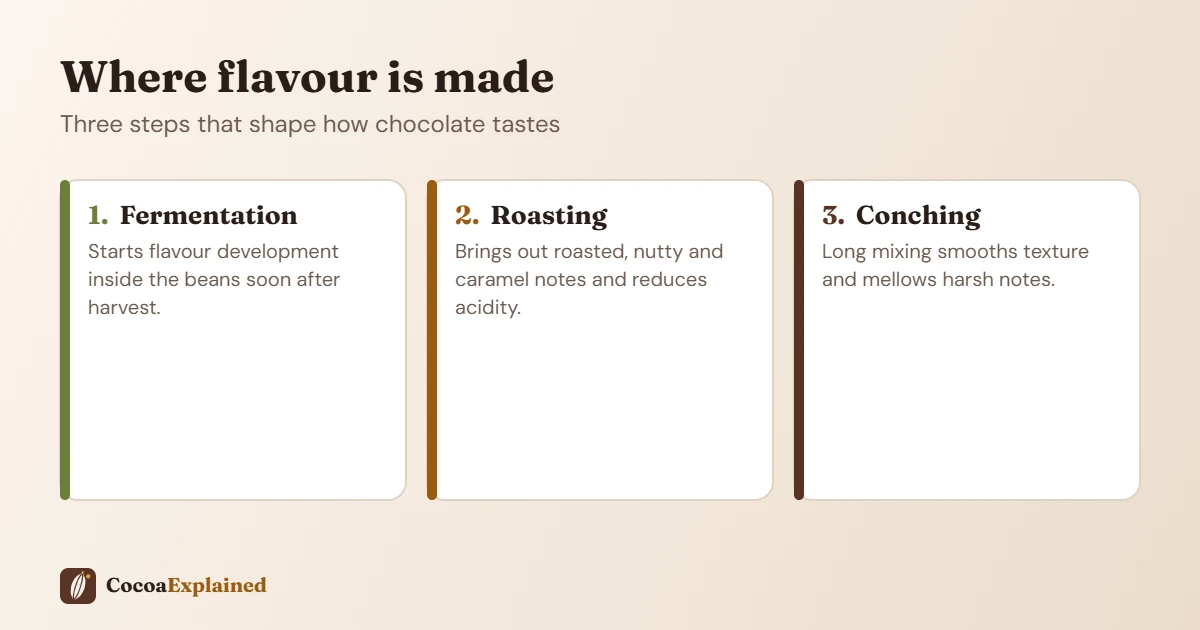
Then comes fermentation, one of the most important steps for flavour. Natural yeasts and bacteria feed on the pulp, which turns to liquid and drains away, and the heat produced in the pile changes the beans inside. Fermentation typically lasts several days, and the farmer turns or mixes the beans so that they ferment evenly. Without proper fermentation, the beans do not develop the chemical precursors that become chocolate flavour when roasted. The bitter, harsh taste of a raw bean softens, and the purple colour inside gradually turns brown.
3. Drying
After fermentation the beans are wet and would soon go mouldy if they were stored. They are spread out to dry, most often in the sun on mats, trays or raised platforms, and turned regularly. Drying usually takes about a week or more depending on the weather, and brings the moisture down to a level that is safe for storage and transport. Rain can be a problem, so many farms and cooperatives also use covered drying areas. Properly dried beans are packed in sacks and sold to buyers who ship them to chocolate makers around the world.
4. Shipping and sorting
At the chocolate factory, the beans are checked for quality, sorted, and cleaned to remove stones, dust and other foreign material. Many makers also cut open a sample of beans to inspect the colour and look for problems. Beans from different origins can be kept separate, to make single-origin chocolate, or blended to give a consistent flavour from batch to batch.
5. Roasting
Roasting develops the flavour that we recognise as chocolate. The beans are heated, often for somewhere between 15 and 45 minutes at temperatures that commonly range from about 110 to 150 degrees Celsius, although every maker has their own recipe. A lighter roast keeps more of the fruity and acidic notes. A darker roast brings out deeper, toasted and bitter notes. The roast also loosens the thin shell around each bean.
6. Cracking and winnowing
The roasted beans are cracked into pieces, and air is used to blow away the lighter shell. This step is called winnowing. What is left are small, crisp pieces of bean called cocoa nibs. The shells are not wasted: they are used in garden mulch, animal feed and some teas, among other things. Nibs can also be eaten as they are, with a strong, bitter taste that some people enjoy in baking or on top of desserts.
7. Grinding into cocoa mass
Nibs are ground, usually between stone or steel rollers or in a mill. The friction warms the nibs, and because they contain about half their weight in natural fat, the cocoa butter melts and the nibs become a smooth, flowing paste. This is cocoa mass, also called cocoa liquor. It contains no alcohol. In the sort of chocolate sold as plain dark chocolate, this is the basis of the bar.
At this point the cocoa mass can be pressed to separate it into cocoa butter and a solid cake of cocoa solids, which is ground into cocoa powder. These components are then combined in different proportions to make dark, milk and white chocolate, as explained in our guide to the real differences between them.
8. Mixing, refining and conching
Next the maker mixes cocoa mass with sugar and, depending on the recipe, extra cocoa butter, milk powder, vanilla or an emulsifier such as lecithin. The mixture is passed between heavy rollers that grind the particles until they are so small that the tongue can no longer feel them as grit. This is what makes the final chocolate feel smooth.
The refined chocolate goes into a machine called a conche, which stirs and aerates it while it is kept warm. Conching can last from a few hours to a couple of days, depending on the style of chocolate. It smooths the texture and drives off unwanted harsh or sour flavours, helping the flavour to round out.
9. Tempering, moulding and wrapping
Cocoa butter can form several kinds of crystals as it cools, and only one type gives the glossy finish, firm snap and clean melt that good chocolate has. Tempering is the process of carefully heating, cooling and gently warming the chocolate again so that the right crystals form. If chocolate is not tempered properly, it can look dull, streaky or crumbly. The grey-white film sometimes seen on old chocolate is called bloom. It is usually caused by fat or sugar rising to the surface and is generally harmless to eat, though it may affect the texture.
The tempered chocolate is poured into moulds, shaken to remove air bubbles, cooled and removed. Bars are wrapped and packed, ready for shops.
Bean to bar versus industrial chocolate
You may have seen the term “bean to bar.” It describes makers who carry out the steps from roasting through to the finished bar themselves, often in small batches, instead of buying ready-made chocolate and melting it down. Large manufacturers also make chocolate from beans, but on a much bigger scale and with processes designed to make the flavour the same every time. Both approaches can produce good chocolate. Small-batch makers often highlight the origin and the specific character of the beans, while large companies focus on consistency and price.
Why the journey matters to you
- Flavour begins on the farm. Variety, soil, fermentation and drying all leave a mark that a maker can preserve or lose.
- Time and skill add up. Because so many steps can go wrong, well-made chocolate can cost more.
- Labels can help. A bar that names the country or region of the beans and lists a short ingredient list is giving you useful information.
- Ethical questions are real. Many cacao farmers earn little, and certification schemes and direct-trade relationships exist to address that, though they have limits. We will look at this in a separate guide.
Key points to remember
- Cacao beans are fermented and dried on the farm before they ever reach a factory.
- Roasting, winnowing, grinding, refining, conching and tempering turn the beans into smooth, shiny chocolate.
- Cocoa mass can be separated into cocoa butter and cocoa powder, which are recombined to make different kinds of chocolate.
Continue with our guide to what chocolate is, exactly, or compare the three main types in our dark, milk and white chocolate guide.
Sources
- Encyclopaedia Britannica: Chocolate
- International Cocoa Organization (ICCO)
- World Cocoa Foundation
- U.S. eCFR, Title 21, Part 163: Cacao Products
Last updated: October 14, 2026. Written by Jessu Rignesh Nadar. This guide is for general information and is not medical or nutrition advice.
